Januarie 12, 2015 06:38 by
 Mark
MarkDeploy LightSwitch Application as DotNetNuke Module

Visual Studio LightSwitch is a Microsoft tool used for building business applications. If you want your LightSwitch application to be deployed as a DotNetNuke then you can.
DotNetNuke is the leading Web Content Management Platform for Microsoft .NET, powering more than 700,000 web sites worldwide. Whether you need a content management system (CMS) for your personal web site or for a Fortune 500 company, DotNetNuke has a solution that fits your needs.
Before deploying your LightSwitch applications in DotNetNuke you will need DotNetNuke (using ASP.NET).
- Step 1 : Open Visual Studio LightSwitch->Create new table.
- Step 2 : Create a table such as Task.
- Step 3 : Now we will add a screen. Right click on screens->Add screen.
- Step 4 : Select list and details screen->Select screen data (Task)->Ok
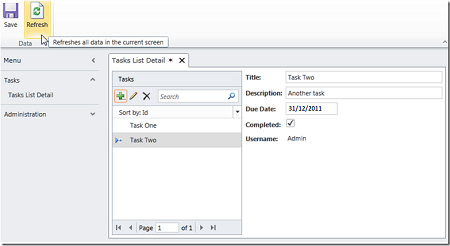
- Step 5 : Click on write code->Select Task_Created.
Code
using System;
using System.Collections.Generic;using System.Linq;
using System.Text;
using Microsoft.LightSwitch;
namespace LightSwitchApplication
{
public partial class Task
{
partial void Task_Created()
{
this.UserName = this.Application.User.Name;
}
}
}
Description : This code set the Username field to the "Application.User.Name".
- Step 6 : Go to properties in the Solution Eexplorer.
- Step 7 : Click on access control-> select Use Forms authentication.
- Step 8 : Now click on application type-> select Host application services on IIS.
- Step 9 : Go to configuration manager in debug.
- Step 10 : Select release mode in debug.
- Step 11 : Go to build in menu bar->Publish your application (DotNetNuke).
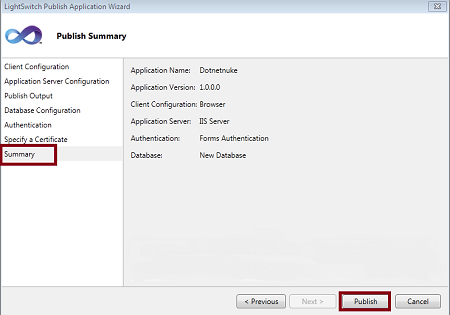
- Step 12 : Click on publish for publish your application.
- Step 13 : Run application (Press F5). Now you can create task in DotNetNuke framework.